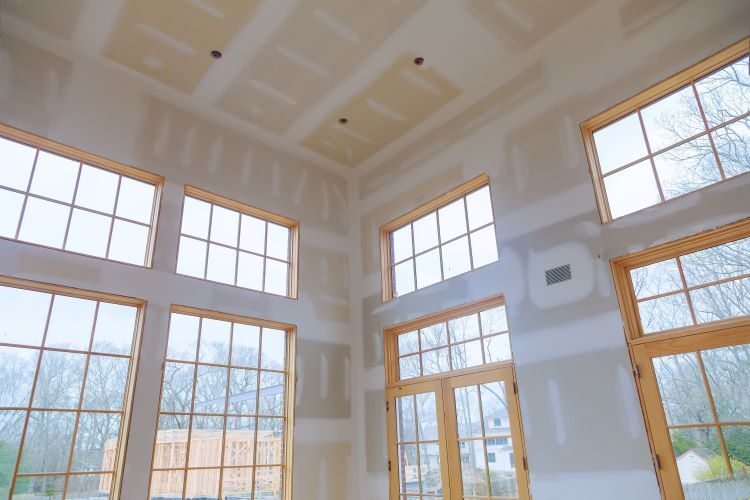
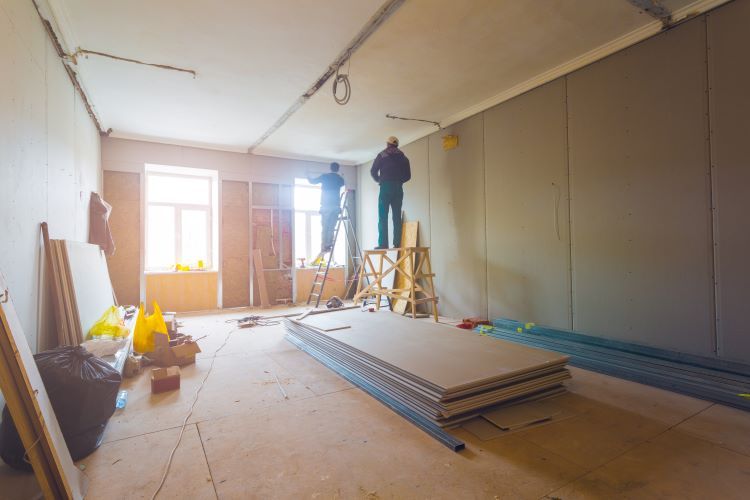
The Process of Drywall Finishing

Drywall finishing is a crucial part of any renovation or construction project, providing a smooth, polished look to your interiors. Whether you're building a new home or remodeling an existing space, achieving a flawless drywall finish can significantly enhance the aesthetics and value of your property. At St. John's Drywallers, we specialize in delivering top-quality drywall services to homeowners and businesses in St. John's, Newfoundland. In this guide, we'll walk you through the entire process of drywall finishing, explaining each step in detail to help you achieve professional results.
Why Drywall Finishing Matters
Before diving into the process, let's explore why drywall finishing is so important:
- Aesthetic Appeal: Proper finishing results in smooth, even walls that are ready for painting or wallpapering, giving your space a polished, professional look.
- Durability: High-quality finishing strengthens the drywall, making it more resistant to wear and tear over time.
- Increased Property Value: Well-finished walls can enhance the value of your home, especially if you're planning to sell in the future.
Understanding the 5 Levels of Drywall Finishing
Drywall finishing is categorized into five levels, each representing a different degree of smoothness and preparation for painting or texturing:
- Level 0: No finishing is done; drywall is simply hung. Ideal for temporary spaces.
- Level 1: Joints are covered with a single coat of compound and tape. Suitable for areas hidden from view, like attics and utility rooms.
- Level 2: A second coat of compound is applied over the tape. Commonly used in garages and storage areas.
- Level 3: Three coats of compound are applied, perfect for walls that will receive a heavy texture or low-sheen paint.
- Level 4: Three coats of compound are applied, sanded, and ready for flat or satin paint finishes. This is the standard for most residential interiors.
- Level 5: The highest level, with a skim coat applied over the entire surface. Ideal for areas with high-gloss paint or critical lighting.
For most home projects, Level 4 is the standard, while Level 5 is recommended for areas where a flawless finish is required.
Step-by-Step Guide to the Drywall Finishing Process
Step 1: Preparation
Before you begin, it's essential to prepare the drywall surface. This includes checking for any protruding screws, loose drywall sheets, or damaged edges. Make sure the surface is clean and free of dust.
- Tools Needed: Utility knife, screwdriver, sanding block.
- Tip: Use a shop vac to clean up dust and debris from the drywall for better compound adhesion.
Step 2: Taping the Joints
The first step in finishing drywall is applying tape to the joints between the drywall sheets. This reinforces the seams and prevents cracks from forming.
Paper Tape vs. Mesh Tape:
- Paper Tape: Stronger and more resistant to cracks. Ideal for long-term durability.
- Mesh Tape: Easier to work with but may require more compound for a smooth finish.
Using a 6-inch drywall knife, apply a thin layer of joint compound along the seams. Then, embed the tape into the wet compound, pressing it firmly to ensure a strong bond.
Step 3: Applying the First Coat of Joint Compound (Mudding)
With the tape in place, it's time to apply the first coat of joint compound, also known as "mud." This coat covers the taped seams and screw holes.
- Application: Use a 10- to 12-inch drywall knife to spread the compound evenly over the seams. Feather the edges to create a smooth transition between the drywall and the compound.
- Drying Time: Allow 24 hours for the compound to dry completely before proceeding to the next coat.
Step 4: Second Coat of Joint Compound
After the first coat has dried, lightly sand the surface with a fine-grit sandpaper to remove any bumps or ridges. Wipe away any dust before applying the second coat.
- Goal: Extend the second coat a few inches beyond the first coat to further blend the seam into the drywall.
- Tip: Apply the compound in thin layers to avoid cracking and reduce drying time.
Step 5: Third Coat of Joint Compound
The third and final coat is used to perfect the surface, filling in any remaining imperfections. This coat should be thinner than the previous ones, focusing on creating a smooth, seamless finish.
- Application: Use a 12-inch drywall knife to feather the edges as much as possible, ensuring there are no visible lines.
- Drying Time: Let it dry for at least 24 hours before the final sanding.
Step 6: Sanding for a Smooth Finish
Once the final coat is dry, it's time to sand the entire surface to achieve a perfectly smooth finish. Use a sanding pole with fine-grit sandpaper for best results.
- Tip: Use a bright light held at an angle to the wall to highlight any remaining imperfections.
- Safety: Wear a dust mask and safety goggles to protect yourself from drywall dust.
Step 7: Priming the Walls
The last step in the drywall finishing process is applying a coat of primer. This seals the drywall and provides a uniform surface for painting.
- Tools Needed: Roller, paintbrush, drywall primer.
- Tip: Use a high-quality primer to prevent flashing (uneven sheen) when painting.
Common Mistakes to Avoid in Drywall Finishing
Skipping the Sanding: Sanding between coats is crucial for a smooth finish.
- Applying Too Much Compound: This can lead to cracking and longer drying times.
- Not Using Primer: Skipping the primer can result in uneven paint coverage and poor adhesion.
Why Choose St. John's Drywallers for Your Drywall Finishing Needs?
At St. John's Drywallers, we take pride in delivering exceptional drywall finishing services tailored to your specific needs. Here's why homeowners and businesses in St. John's, Newfoundland, trust us:
- Experienced Professionals: Our skilled team has years of experience in drywall finishing, ensuring flawless results.
- Quality Materials: We use only the best compounds, tapes, and primers for long-lasting durability.
- Customer Satisfaction: We are committed to providing high-quality services that exceed your expectations.
Final Thoughts
Drywall finishing is an art that requires patience, skill, and attention to detail. By following the right process and using the correct tools, you can achieve a smooth, professional finish that enhances the beauty of your interiors. Whether you're tackling a DIY project or need expert assistance, St. John's Drywallers is here to help with all your drywall needs.
Ready to transform your space? Contact St. John's Drywallers today for a free consultation and estimate on your next drywall finishing project!
You might also like


Book a Service Today
We will get back to you as soon as possible
Please try again later
St. John's Drywallers
Navigation
Navigation
Working hours
- Mon - Fri
- -
- Sat - Sun
- Appointment Only
*This is a referral website. All work is performed by professional, licensed contractors.