Drywall Installation Expert Tips and Tricks

Installing drywall can seem daunting, but with the right tips and tricks, you can achieve professional results. At St. John's Drywallers, we take pride in delivering top-notch drywall services to the St. John's, Newfoundland community. Whether you're a DIY enthusiast or a homeowner looking to understand the process better, these expert tips will help you tackle your drywall installation project with confidence.
1. Plan Your Layout
Before you start installing drywall, it's essential to plan your layout. Measure the dimensions of your walls and ceiling to determine the number of drywall sheets you’ll need. This planning stage ensures minimal waste and optimal placement of the sheets.
Tip: Try to position the drywall sheets so that the joints fall on the studs. This makes the installation process more secure and the seams less visible.
2. Use the Right Tools and Materials
Having the right tools and materials is crucial for a successful drywall installation. Here's a list of essentials:
- Drywall sheets
- Utility knife
- Drywall screws and nails
- Screw gun or drill
- T-square
- Drywall saw
- Drywall tape (paper or mesh)
- Joint compound
- Putty knife
- Sanding sponge or sandpaper
Tip: Investing in a good quality screw gun or drill can save you a lot of time and effort during installation.
3. Secure the Drywall Sheets
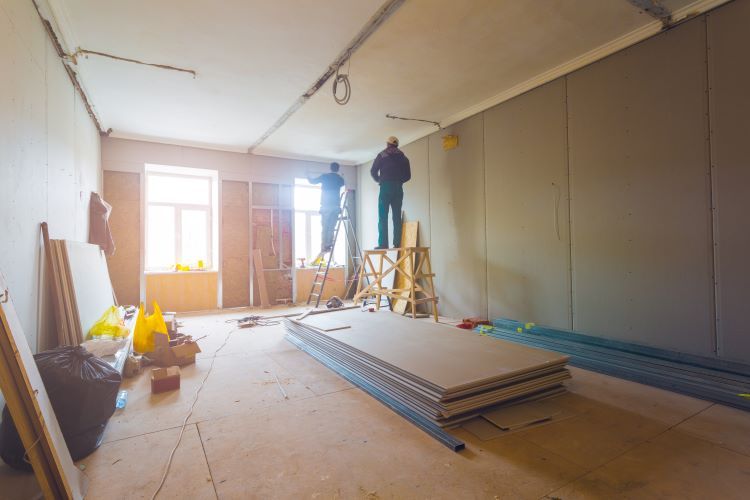
Begin by securing the drywall sheets to the ceiling before moving to the walls. This helps in maintaining the structural integrity of the installation. Use drywall screws or nails to attach the sheets to the studs, ensuring they are flush with the surface.
Tip: Place screws or nails every 12 inches along the edges and every 16 inches in the field of the drywall sheet. Be careful not to overtighten, as this can damage the drywall.
4. Cut Drywall Accurately
Accurate cutting is essential for a smooth fit. Use a T-square to mark your cutting lines and a utility knife to score the drywall. Once scored, snap the sheet along the line and cut through the paper backing.
Tip: For electrical outlets and light switches, use a drywall saw to cut out precise openings.
5. Taping and Mudding
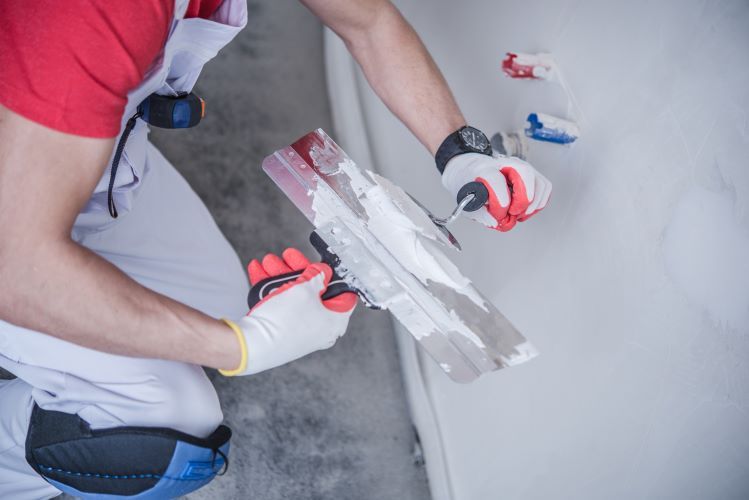
Taping and mudding are crucial steps that ensure seamless joints. Apply drywall tape over the seams and cover with a thin layer of joint compound. Use a putty knife to smooth out the compound, removing any excess.
Tip: Apply at least three layers of joint compound, allowing each layer to dry completely before sanding. Feather the edges of each layer to blend it with the surrounding drywall.
6. Sanding for a Smooth Finish
Once the joint compound is dry, sand the surfaces to achieve a smooth finish. Use a sanding sponge or sandpaper with a fine grit to remove any imperfections.
Tip: Sand in a circular motion and be gentle to avoid damaging the drywall. Wear a dust mask to protect yourself from inhaling dust particles.
7. Prime Before Painting
Before applying paint, it's essential to prime the drywall. Primer helps seal the drywall and joint compound, providing a uniform surface for the paint to adhere to.
Tip: Use a high-quality primer and apply it evenly across the entire surface. This step ensures that your paint job will look flawless and last longer.
8. Address Common Issues
Even with careful planning, issues can arise during drywall installation. Here are some common problems and how to address them:
- Cracks: Apply additional joint compound and sand smooth.
- Popped screws or nails: Remove the fastener, apply joint compound, and resecure with a new screw or nail.
- Uneven joints: Sand the area and apply a thin layer of joint compound to level the surface.
Tip: Regularly inspect your work for any imperfections and address them promptly to avoid bigger problems down the line.
Conclusion
Drywall installation requires attention to detail and patience, but by following these expert tips and tricks, you can achieve professional results. Whether you’re renovating a single room or tackling a larger project, these guidelines will help you navigate the process with ease.
At St. John's Drywallers, we are dedicated to providing high-quality drywall services. If you need assistance with your drywall installation or have any questions, don’t hesitate to contact us. Our team of professionals is here to ensure your project is completed to the highest standard.
You might also like


Book a Service Today
We will get back to you as soon as possible
Please try again later
St. John's Drywallers
Navigation
Navigation
Working hours
- Mon - Fri
- -
- Sat - Sun
- Appointment Only
*This is a referral website. All work is performed by professional, licensed contractors.