Mastering the Art of Drywall Patching
Drywall is a common material used in homes and buildings for its durability and ease of installation. However, even the most robust drywall can suffer damage over time. Whether it's from an accidental impact, shifting of the house, or other factors, holes and cracks in drywall are almost inevitable. Fortunately, patching a hole in drywall is a manageable task if done correctly. Here's a step-by-step guide to help you understand the process of patching a hole in drywall, brought to you by St. John's Drywallers in Newfoundland.
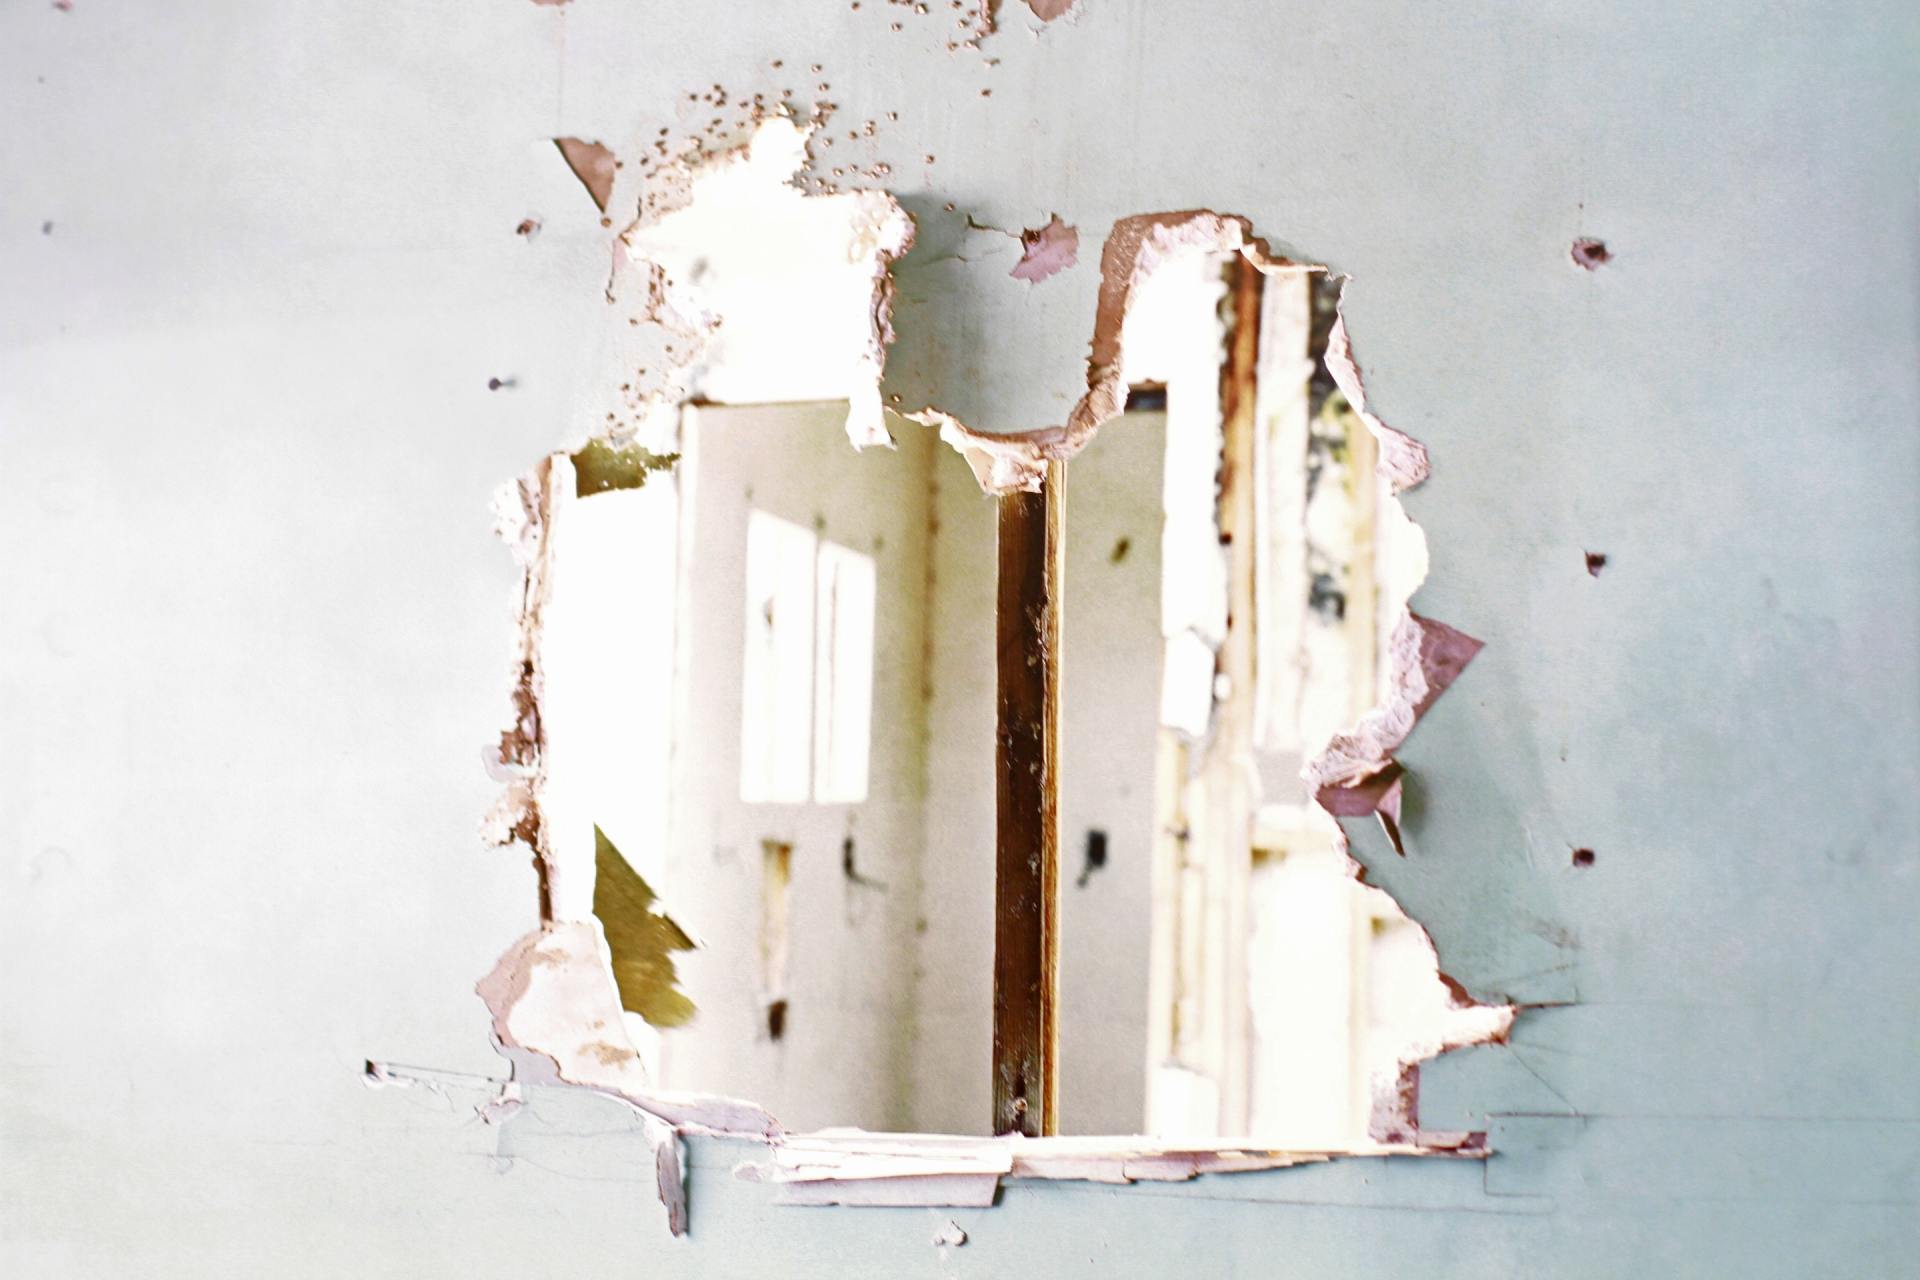
Step 1: Assess the Damage
Before starting any repairs, it’s crucial to assess the damage. Small holes and cracks can be easily patched, while larger holes may require a more comprehensive repair strategy. Measure the hole to determine the best approach for patching it.
Step 2: Gather Your Materials
For this project, you'll need the following materials and tools:
- Utility knife
- Drywall saw
- Sandpaper
- Drywall patch or a piece of drywall
- Joint compound
- Drywall tape
- Putty knife
- Primer and paint
Step 3: Cut Away the Damaged Area
If the hole is small (less than 1/2 inch), you can skip this step and move directly to applying the patch. For larger holes, use a utility knife or drywall saw to cut away the damaged area. Create a clean, square or rectangular cut to ensure the patch fits snugly.
Step 4: Attach the Drywall Patch
For small holes:
- Use a drywall patch that comes with an adhesive backing. Simply peel off the backing and press the patch over the hole.
For larger holes:
- Cut a piece of drywall slightly larger than the hole.
- Place the drywall piece over the hole and trace around it.
- Cut along the traced lines to ensure a perfect fit.
- Use drywall tape to secure the edges of the patch to the existing drywall.
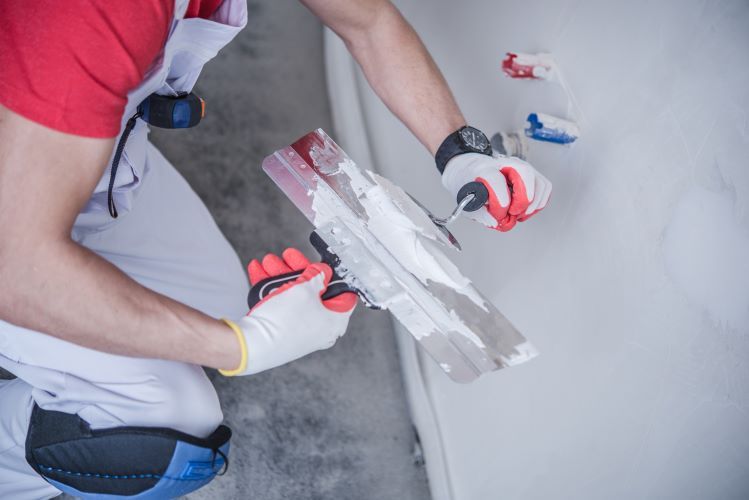
Step 5: Apply the Joint Compound
- Spread a thin layer of joint compound over the patch using a putty knife. Ensure the compound covers the tape and extends slightly beyond the patch to blend it with the existing wall.
- Smooth the compound and let it dry completely.
- Once dry, sand the area to create a smooth surface. Apply additional layers of joint compound if necessary, sanding between each layer.
Step 6: Prime and Paint
After the final layer of joint compound is dry and sanded smooth, apply a coat of primer to the patched area. This step is essential to ensure the paint adheres properly and blends with the rest of the wall. Once the primer is dry, paint the patched area to match the existing wall color.
Step 7: Clean Up
Clean your tools and dispose of any debris properly. Check the patched area to ensure it’s smooth and seamless. If necessary, touch up the paint to achieve a flawless finish.
Conclusion
Patching a hole in drywall is a straightforward process that can save you time and money compared to replacing an entire section of wall. However, if you're unsure about tackling this project yourself or if the damage is extensive, it’s best to call in professionals. At St. John's Drywallers, we specialize in drywall repair and can ensure your walls look as good as new. Contact us today for expert drywall services in St. John's, Newfoundland.
By following these steps, you can confidently repair drywall holes and maintain the integrity and appearance of your walls. Remember, a well-patched wall not only looks better but also helps maintain the structural integrity of your home.
You might also like